Designing Your Hierarchy
StatiBeat models your status page structure as named hierarchy levels and hierarchy items.
Start with the structure your customers understand, not the structure your infrastructure team uses internally.
In the current application, you configure these in:
Hierarchy LevelsHierarchy Items
These admin areas are implemented in application/frontend/src/pages/admin/HierarchyLevelConfig.jsx and application/frontend/src/pages/admin/HierarchyItemManagement.jsx.
How hierarchy works
Hierarchy levels define the shape of your tree.
Each level has:
- a numeric depth
- a singular name
- a plural name
The UI describes depth 1 as the top level. The product also encourages a progression such as:
- Services
- Platforms
- Regions
- Components
Hierarchy items are the actual entries in that tree. Each item includes:
- level depth
- optional parent item
- name
- abbreviated name
- identifier
- description
- status
- display order
- metadata JSON
Step 1: Define your levels first
Open Hierarchy Levels and add the levels you want to support.
In the current UI, levels define the available depth of the tree. If you want to add child items deeper in the structure later, that lower level has to exist first.
The current UI allows you to:
- create a level
- edit a level
- delete a level
When creating a level, the form asks for:
Depth (Level Number)Singular NamePlural Name
Depth is the fixed position of that level in the tree. In the current UI, depth is editable when creating a level, but not when editing an existing one.
Step 2: Add items into the tree
Open Hierarchy Items to create the actual services and components your customers will see.
When adding an item, the UI supports two placement models:
- add at the top level
- add as a child under an existing item
If you add a child, the application automatically moves the new item to the next depth below the selected parent. If there is no configured level below that parent, the UI blocks the action and tells you to add another level first.
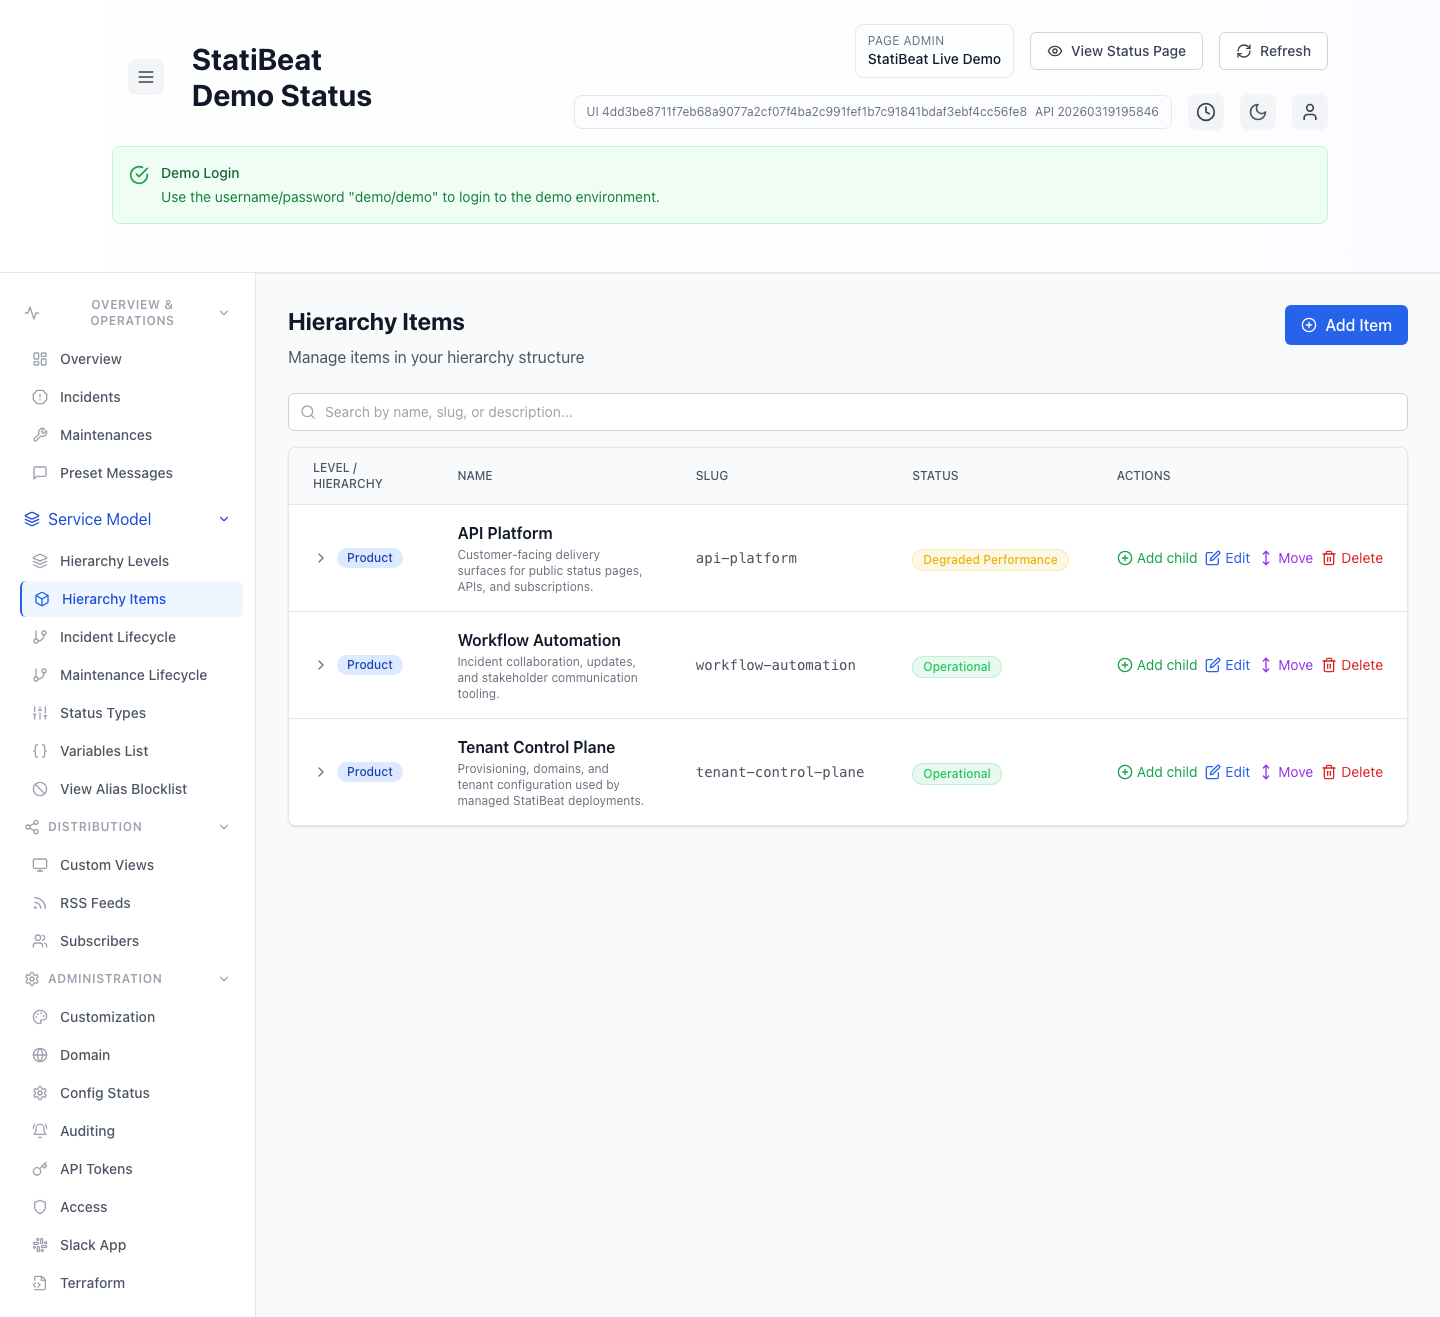
What the hierarchy items screen is useful for
The current page supports searching, adding top-level items, adding child items, editing existing nodes, and moving nodes around the tree. That makes it the main operational view for building out your service model once levels are defined.
Item fields
The item form currently supports these fields:
NameAbbreviated NameIdentifierDescriptionStatusDisplay OrderMetadata
Notes based on the current form behavior:
Abbreviated Nameis optional and is used in Slack displays where space is limited.Identifieris required and is the short stable key used in routes, filters, and automation.Statusis shown in the table but derived automatically from active incidents and child rollups.Display Ordercontrols ordering.Metadatamust be valid JSON.
Moving and organizing items
The hierarchy item UI supports more than simple create/edit/delete workflows. It also includes:
- tree-based browsing
- search by name, identifier, or description
- child creation from an existing node
- move workflows for existing items
That means you can start simple and reorganize later without rebuilding the whole tree from scratch.
Where hierarchy shows up in the product
Hierarchy is not just cosmetic. In the current codebase, it is used in several core workflows:
- public status page hierarchy browsing
- incident affected-item selection
- maintenance affected-item selection
- custom views
- homepage default focus selection
- Terraform provider resources and data sources
Changing hierarchy structure after customers and subscribers are already used to it can make incident communication harder to follow. Stable names and stable identifiers are worth treating as part of your public contract.
Practical setup advice
The application does not force one specific hierarchy model, so the best structure depends on how you communicate with customers.
A good pattern is:
- Put customer-facing product areas near the top.
- Add technical subdivisions only when they help customers understand impact.
- Use abbreviated names for Slack-friendly displays.
- Keep identifiers stable once they are in use.
- Add more levels only when you need them.
If your customers care about services more than infrastructure, make services your top level. If they care about regions or clusters, make those visible in the tree rather than hiding them in descriptions.